Project: pergola
This years garden project seems to be the new pergola on the terrasse.
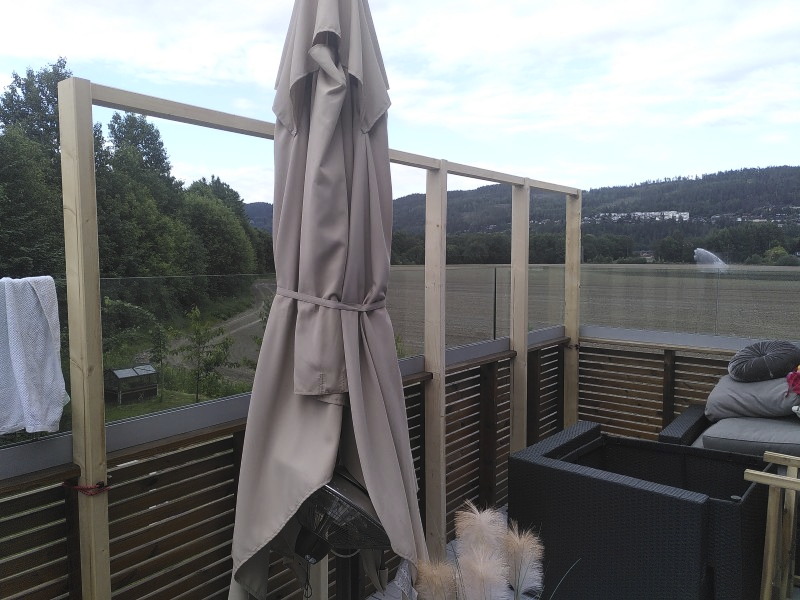
The idea was to add a pergola to the top of the balcony in order to provide some shadow and have a nicer place to sit outside during summer.
Planning
As every good project, the first phase it to get some planning on the way. The goal is to get a least an idea of what you want to build and how to do that.
After going through dozens of images to get - ahem - inspirations, we ended up with the following idea (basically everything that is black is part of the project):
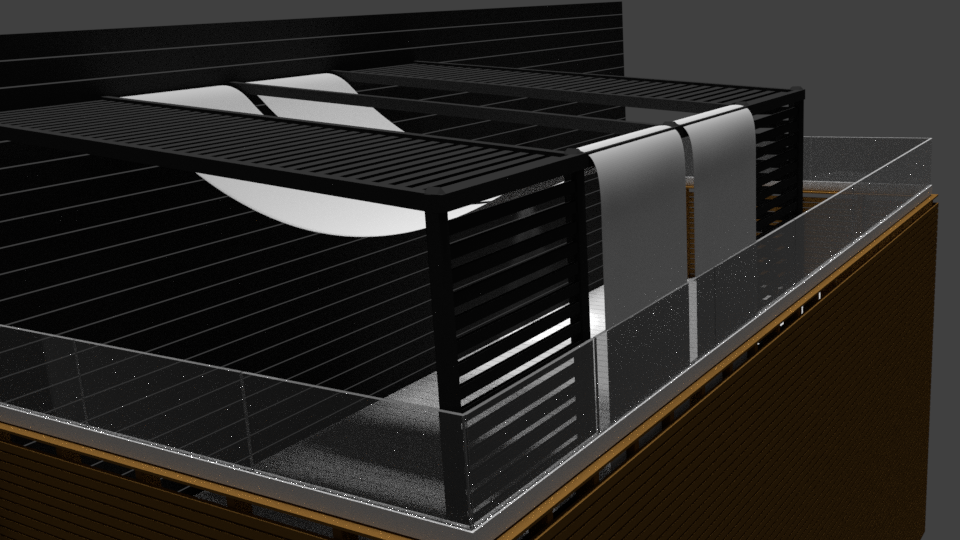
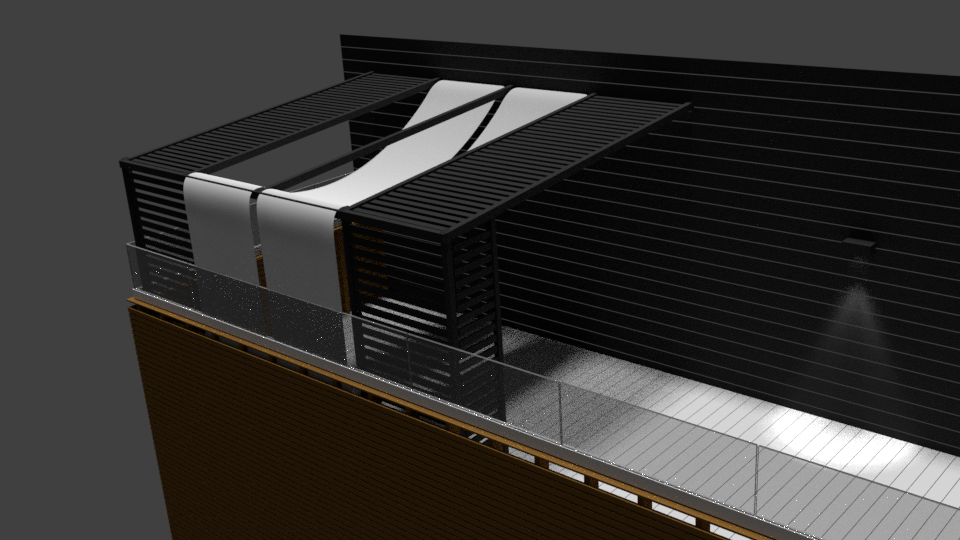
The white sheets are supposed to be either marquise or sail fabric. This shall give some sun-protection and also make it look nicer.
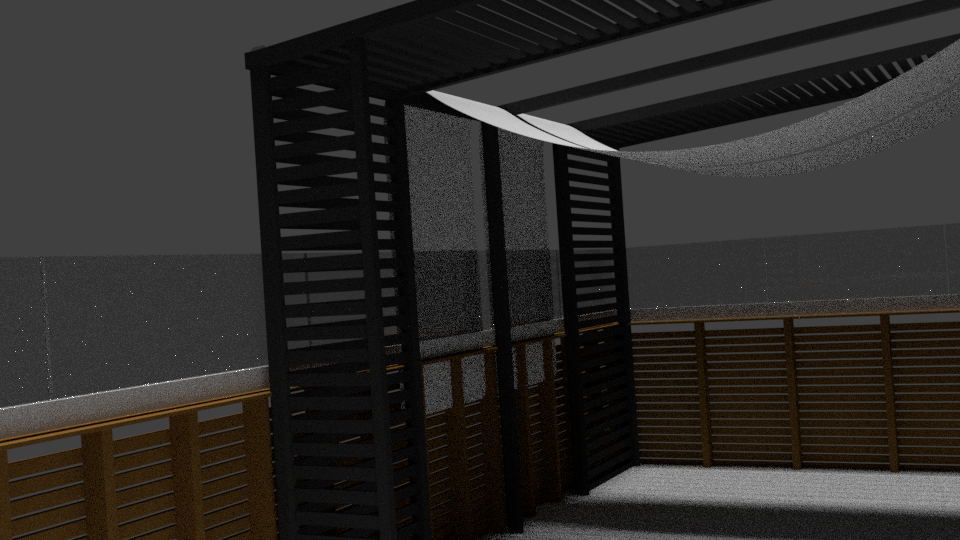
The pergola itself consist of a couple of different parts:
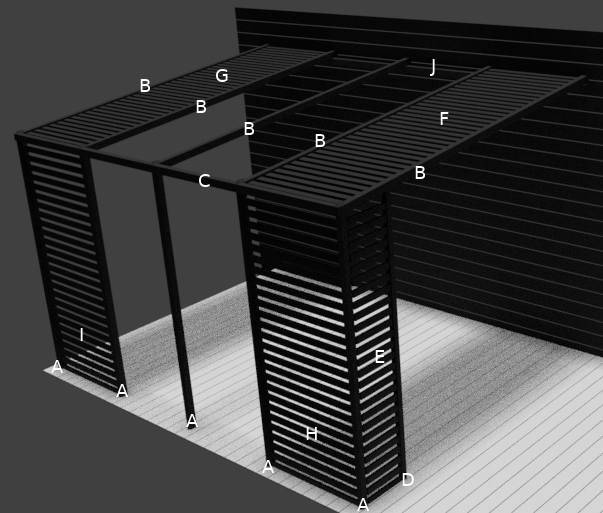
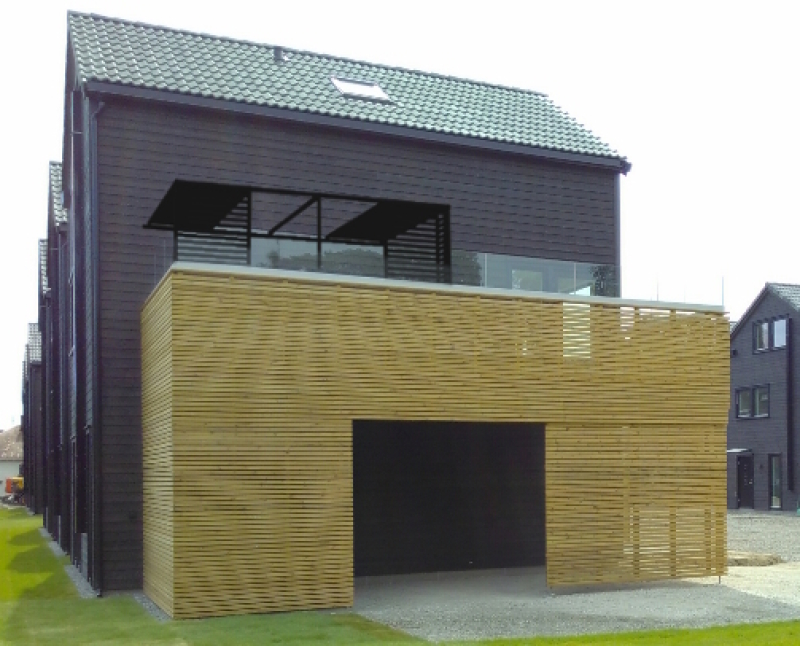
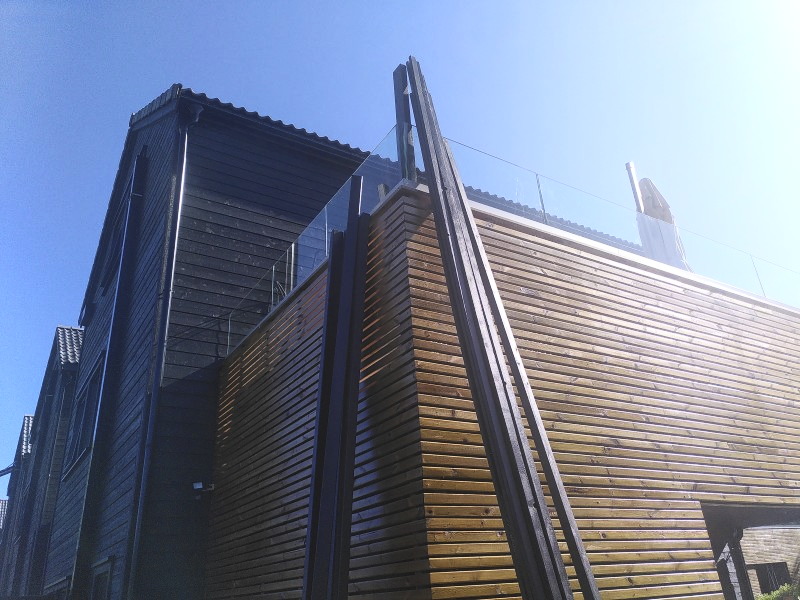
To get a final idea how it would fit, I tried to integrate it into an actual photo of the environment. Not much to see there, but at least we could determine that it wouldn’t be completely out of the desired goal.
Based on the part list with the different types of material I could easily create a shopping list and compare prices from various companies.
Preparation
There were no real plan in what had to come first.
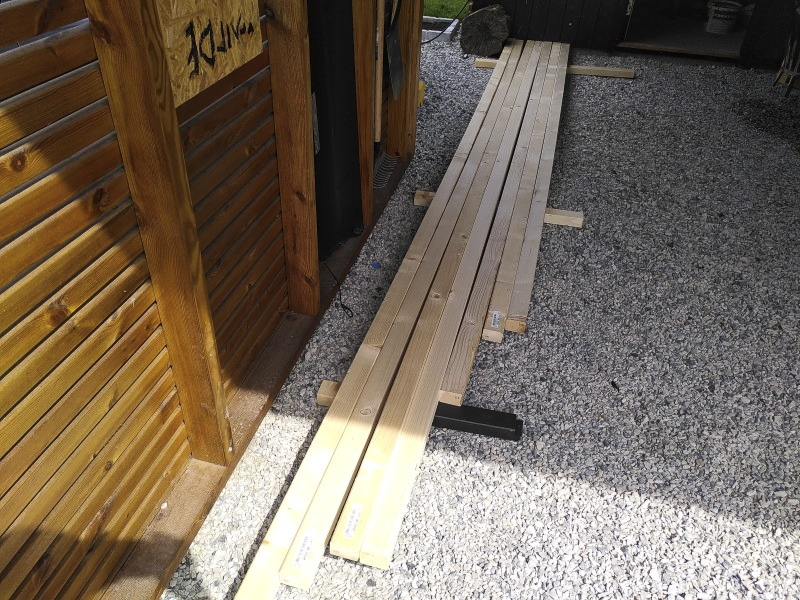
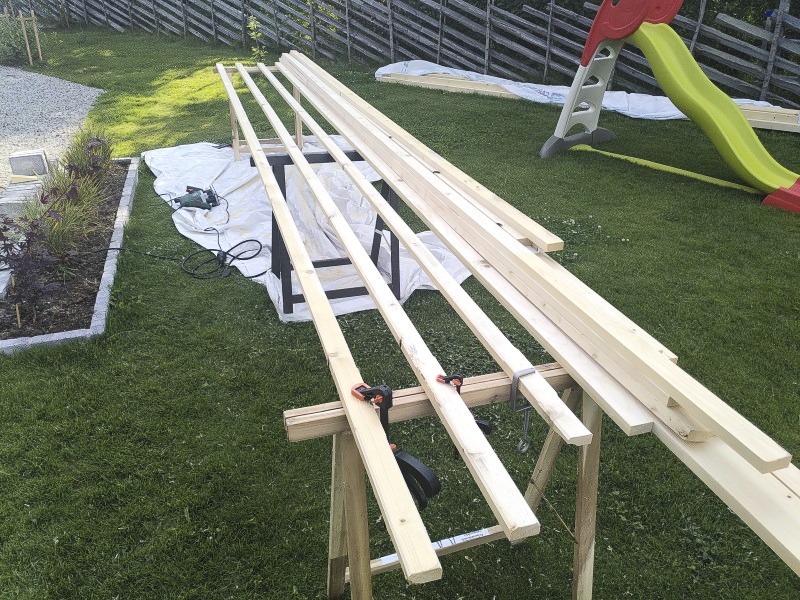
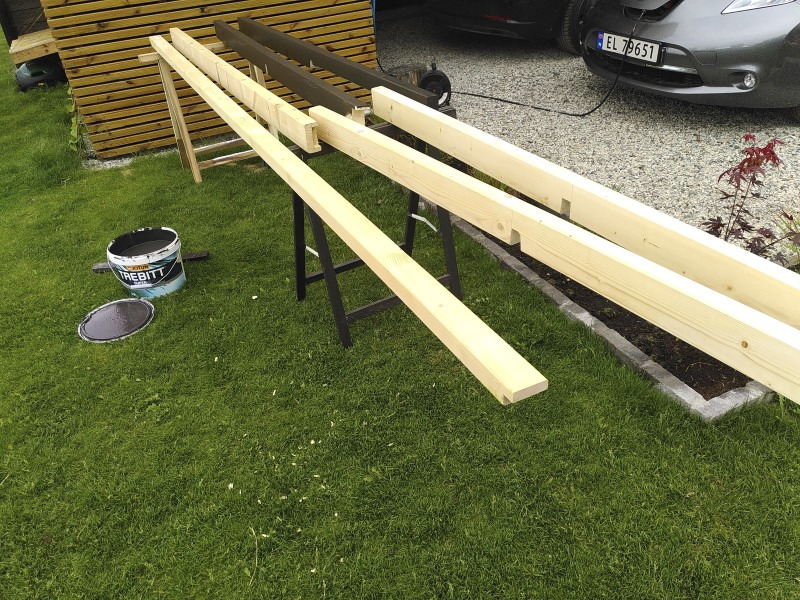
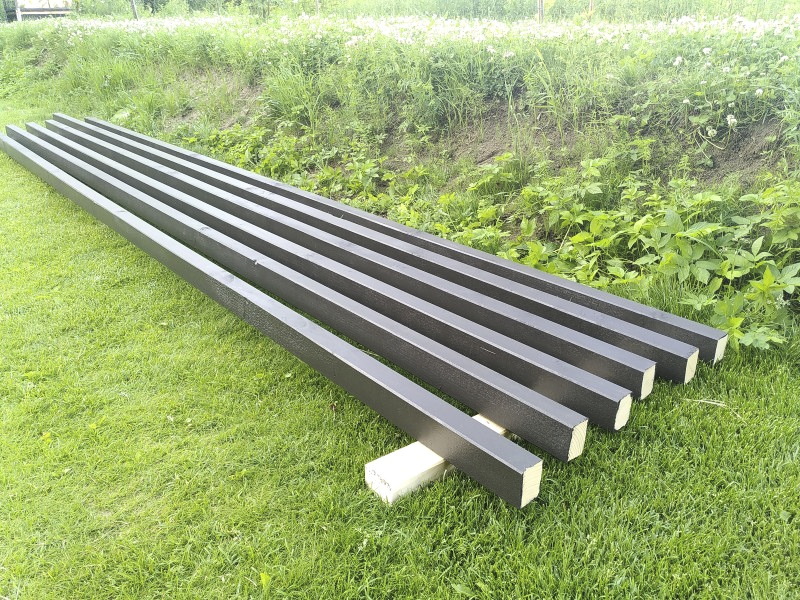
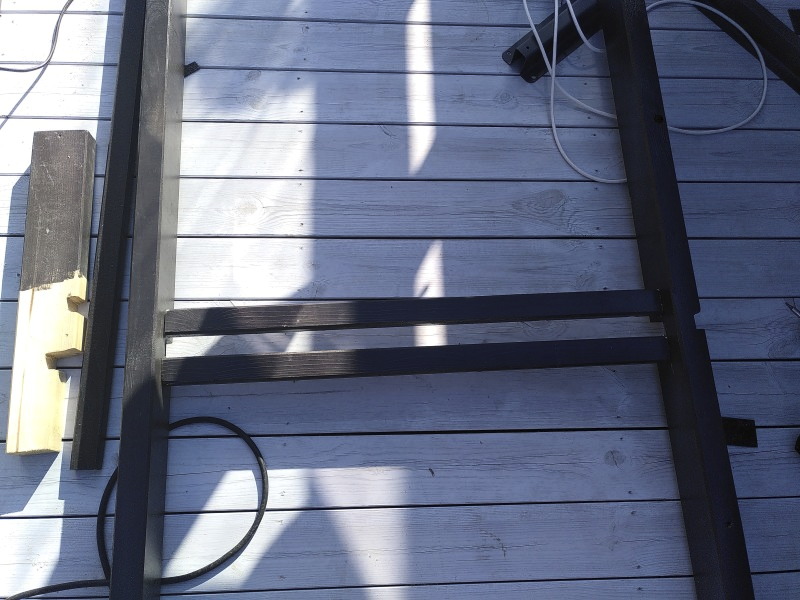
So I started with the basics first: the poles.
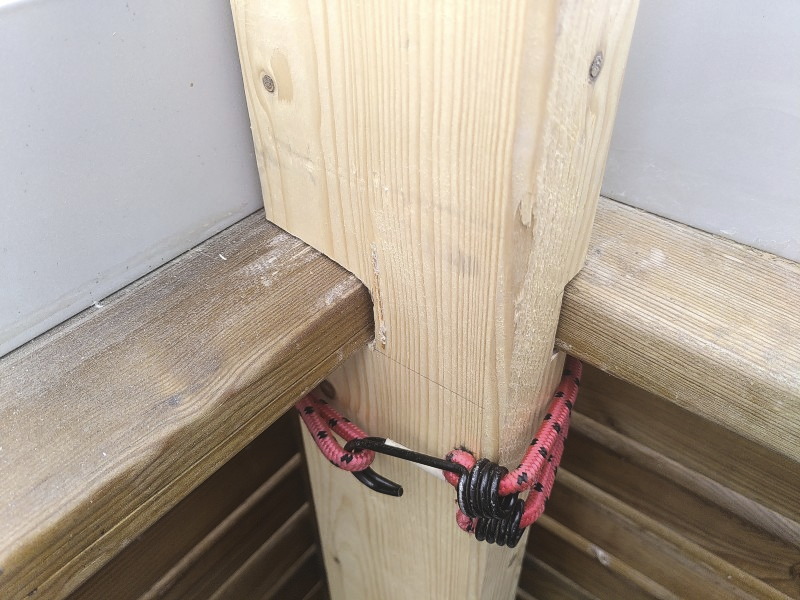
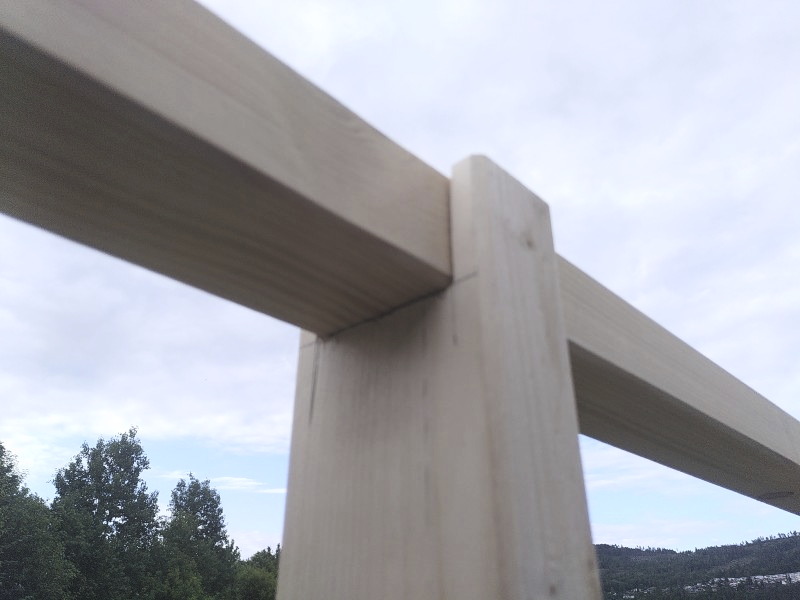
But before that I had to adjust and cut the poles into the right shapes. Since I had no idea how to connect the corner junctions of the pergola effectively, I did some tests there as well. The rubber band just holds it in place.
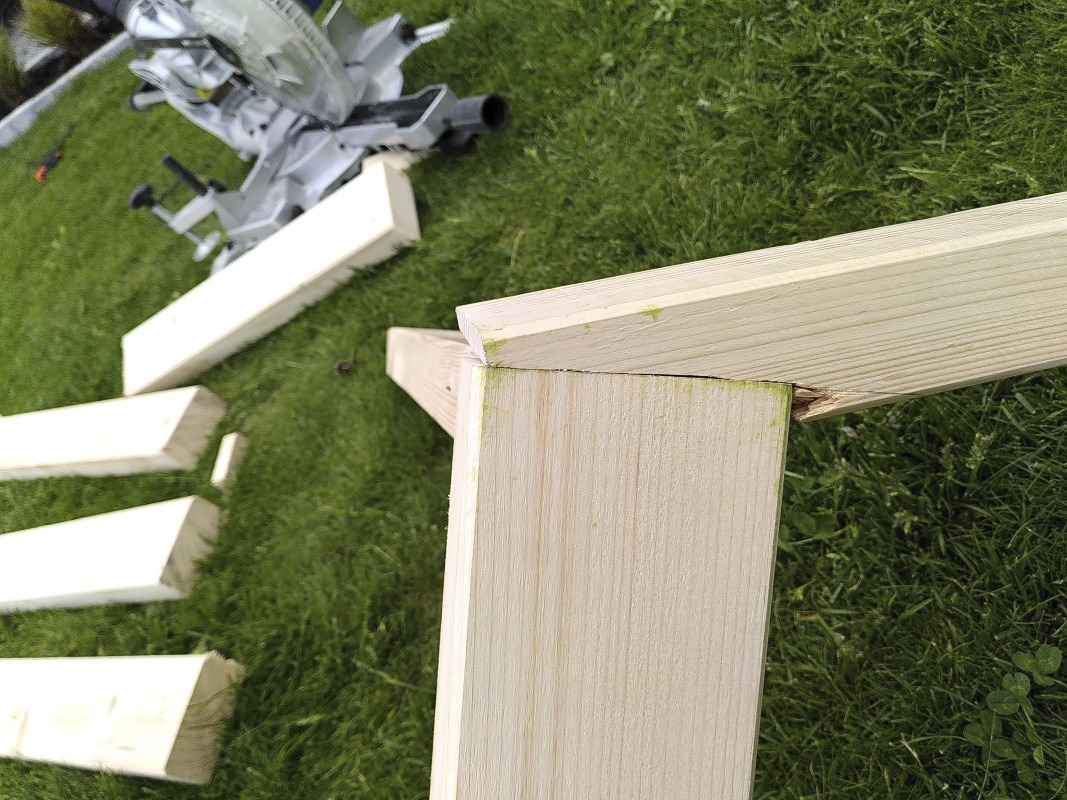
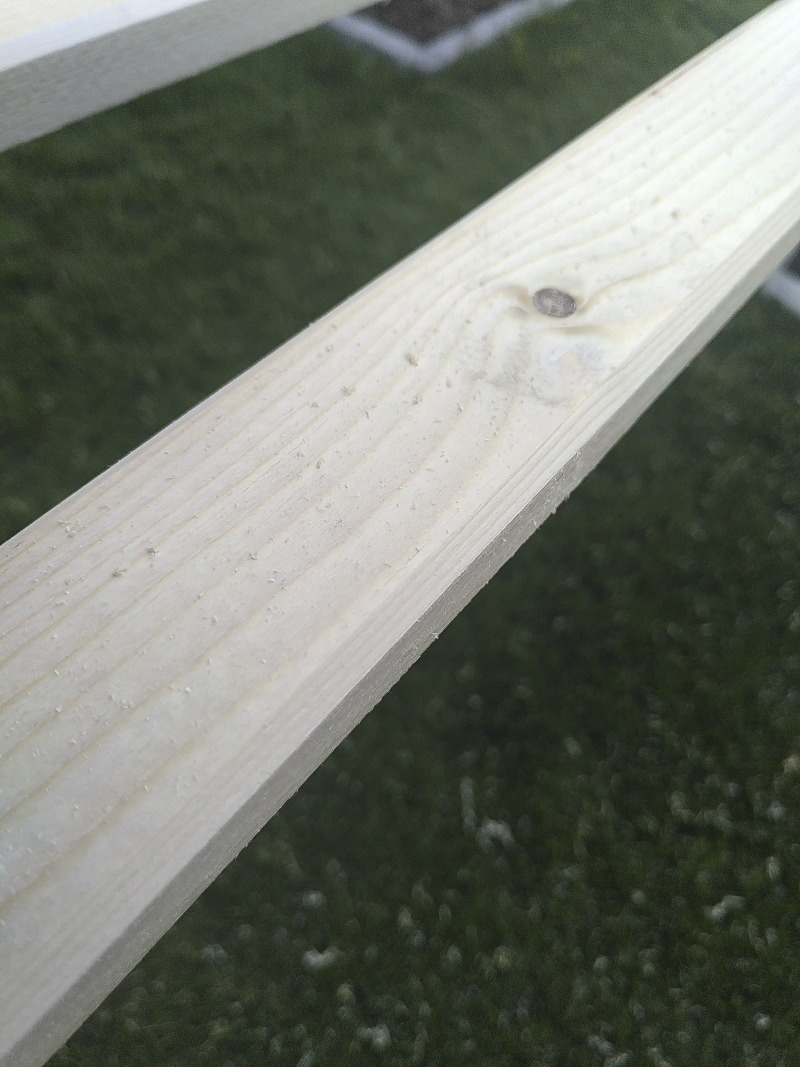
The struts were delivered with just 90dg corners, while the poles had a beveling of 45dg on the corners. In order to make it look even and more organic, I routed the struts on all four sides with a similar angle.
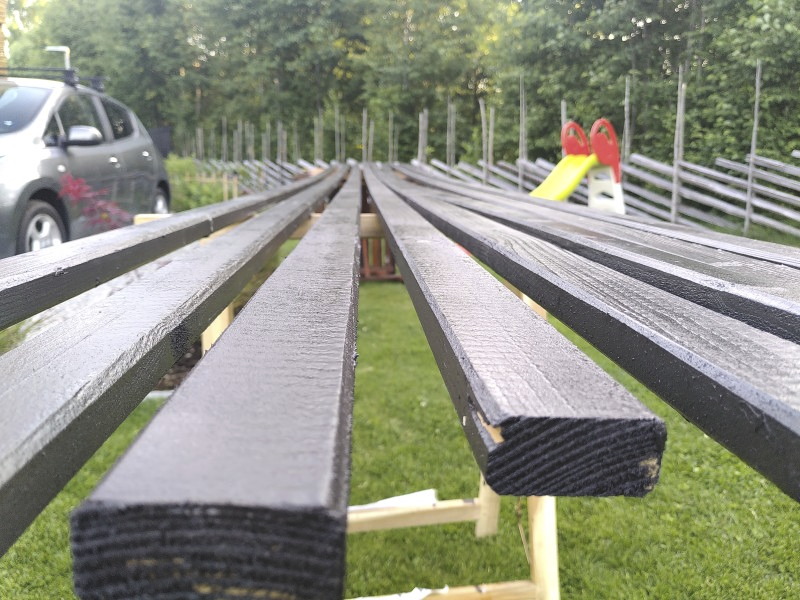
I wanted to achieve a good coloring afterwards and decided therefore to paint the wood in advance. The main surfaces I rolled black pickling over it and fixed the small corner cases with a brush.
Two layers should provide enough protection against water and weather influences.
Construction
Due to the weather the process of painting and construction were seamlessness and partly executed in parallell.
The main modules
There are two main modules in this project. They carry the load and are connected to the balcony border. Their stiffness is results from the struts between them and proper footing on the floor.
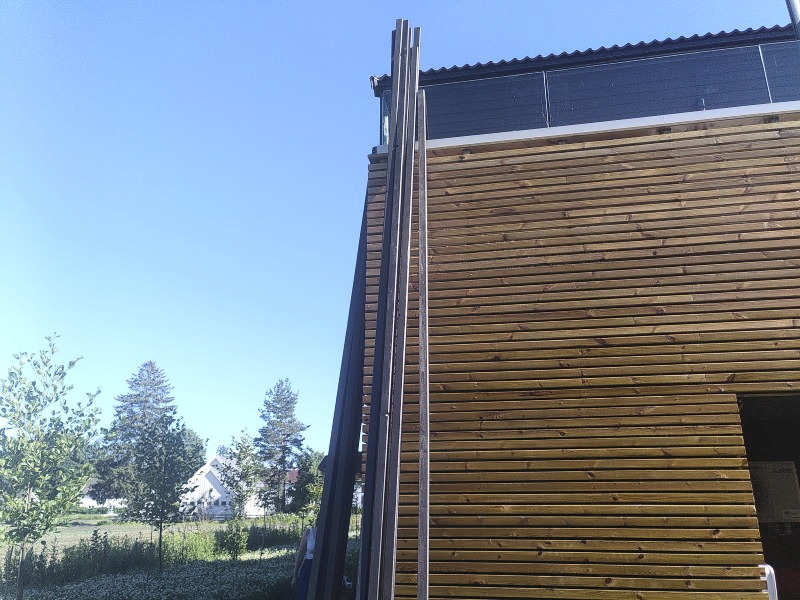
Since the poles were already cut into the rights proportions, the struts need to be cut. I had to move all material up to the balcony and start mounting and cutting the modules there.
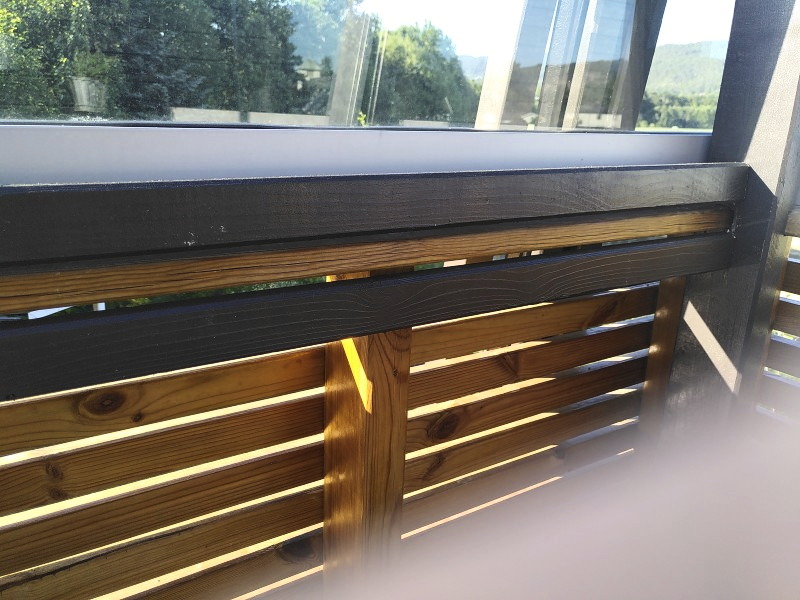
I started with the struts in the middle to make sure they were properly align around the balcony-border and worked my way down from there.
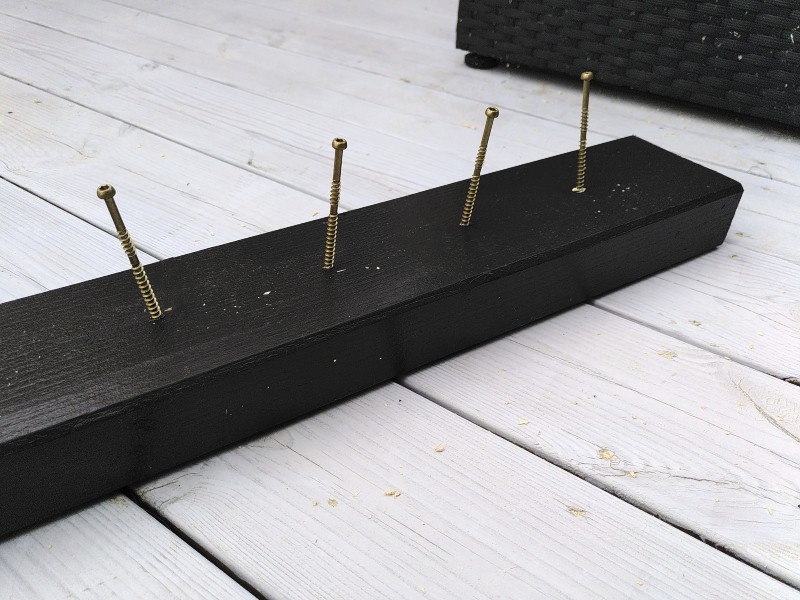
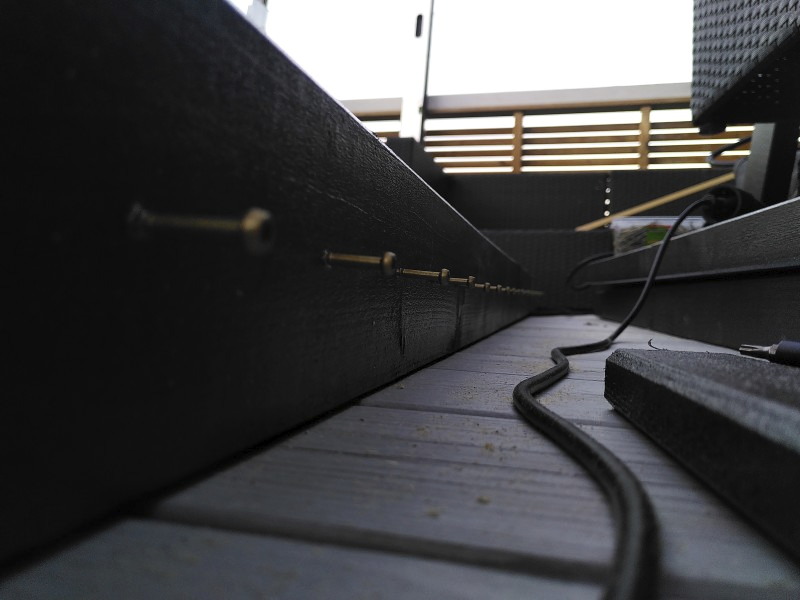
The screws were placed about 8.5 cm apart and every hole drilled before I’ve added the screw. That way I was relatively confident the struts would be parallel. Their length ended up being 82.5 cm.
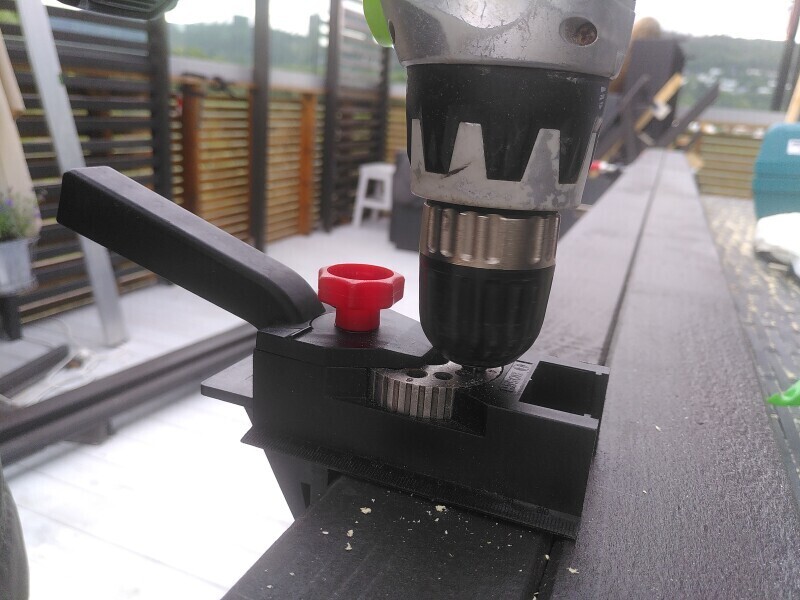
For the vertical drilling and central position of the holes I used a small tool that allowed only a 90 degree angle in drilling and a fast setting for the position of the drill-hole from the side of the plank. That saved me a lot of measuring.
In order to prevent to ugly holes on the downside of the poles, I’ve temporarily fastend a rest piece of wood to drill into instead. That reduced the amount of splitting wood around the outside holes.
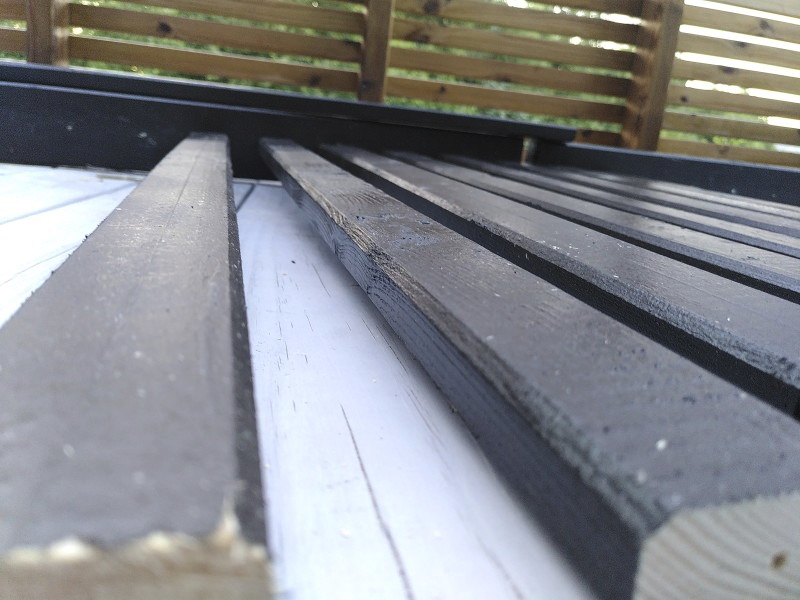
The poles were not 100% straight. Therefore I had to shorten some of the struts accordingly in order to be able to fit them into the module. Due to the cutting also the edges were not as clean anymore as I wanted to have them. Some after-painting with more pickling should solve that issue.
A later change in the cutting process also revealed some erroneous method in measuring each strut that also might have led to the difference in length.

At the end the module just simply fell into its place and could be fixed-up and mounted.
At this point I already knew that a single module took quite some time to build. With roughly 24 struts per module and the amount of working going into it, the finishing time moved a bit further into the future.
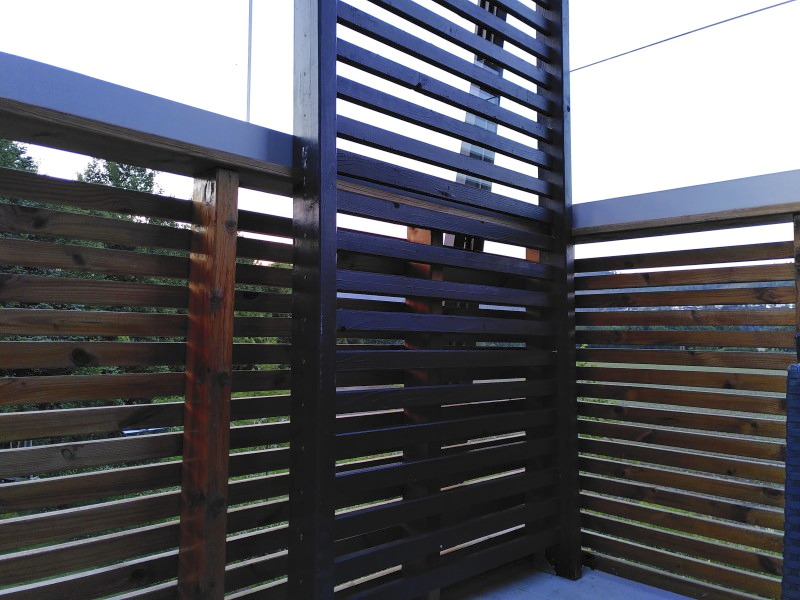
To build the second module, was straight forward: Do the same as with the first one. Here as well I stumbled into the issues, that some struts were shorter/longer than others and I had to cut them again.
With the two side modules in place, I could start working on the horizontal modules at last. The first step would be to mount the vertical bar on the house. Initially I wanted to go for a 15 degree angle, but this resulted in reality at a 150 cm higher position on house. Much too high. So we went the other way around and decided the angle by the height we were comfortable with. The end result was about 7 to eight degree in reality.
The top modules is build similar to the side modules. The distance between the holes for the struts is about 8.6cm. Since these modules are far wider, the total number of struts is about 35.
Cutting the struts was the boring and time consuming part. In order to cut down the time at the saw and measuring, I improvised an extension to the saw that fitted all struts to the exact same length. This allowed me to cut the struts without actually measuring them each and all and also brought down the errors in measuring. The result was that the first top module was far easier to assemble then each of the side modules and all struts fitted better in general.
In order to prevent also splitting wood with the struts, we pre-drilled all holes in the struts as well. The tool for vertical drilling did a pretty good job here as well.
The main wood planks got the cut-outs to fit better on top of the side modules and the plank at the house.
This got repeated - of course - for all top poles as well.
Due to weather and impatience we did not manage to paint and route all struts before we started to build. Later during the process we discovered we had exactly enough struts for the side and top modules available, but some were not ready painted and cutted yet.
The struts for the smaller side module that still had to be built, were missing though. We were about 12 meter short of struts there.
—
The pole in the middle turned out to be that much twisted, that we decided to replace it with a new one. So the whole process of cutting and painting had to take place all over again. Due to some experience we’ve collected earlier, that took much less time than anticipated.
Left-overs